
What We Draw Is What Gets Built: An Airtight Transition, from Detail to Field
A Passive House detail is only as good as the crew that builds it — and a crew is only as good as the detail it's handed. The airtightness number doesn't come from the design or from the field. It comes from the two staying connected.
Everyone knows the hard part is the transitions — wall to window, floor to wall, wall to slab, and every penetration. What makes them succeed is less obvious: everyone touching the detail staying in sync. On this project that meant four parties around the same picture — POINT6 on the modeling and details, the architect, the builder in the field, and 475 High Performance Building Supply on the exact membranes and tapes — from the model all the way to the tape on the wall.
Here's one of those transitions on a live Denver project — from the detail we drew to the membrane that went on in the field.
The project.
6840 E. 6th Avenue Parkway is a 4,581 sq ft custom home in Denver's Hilltop neighborhood. It was originally designed and permitted as a code-built house — the conventional path for infill here. After permitting, the owners and team made the call to pivot the home to the Passive House Institute (PHI) Low Energy standard. That meant re-opening the documents and re-engineering the parts of the building that actually decide whether it performs: the wall, roof, slab, rim, and window assemblies — and, most of all, the connections between them. This is a collaboration built around the details. Point 6 provides the energy modeling, thermal-bridge analysis, mechanical design, and PHI certification path; we developed the re-engineered envelope details with RJ Architectural Consulting. Jewkes Design is architect of record, Forest Street Builderst 6 on the modeling and details, the architect, the builder in the field, and 475 High Performance Building Supply on the exact membranes and tapes — from the model all the way to the tape on the wall.
Here's one of those transitions on a live Denver project — from the detail we drew to the membrane that went on in the field.
The assembly the transition has to tie together.
The redeveloped wall is a double-stud build: a 2×6 exterior wall packed with dense-pack cellulose, paired with a separate 2×4 interior wall filled with Rockwool batt. Two framed walls do the thermal-break work, and they give the crew familiar lumber to work with on both sides of the air-control layer. The air-control strategy runs on two planes that have to stay continuous and connected — and every detail sheet names the exact products so the field isn't guessing:
• Exterior: self-adhered Solitex Adhero on the sheathing, then Transpir 3D mesh over it — Adhero is the weather and air control bonded to the outside of the sheathing; the Transpir 3D mesh goes on over it, behind the standing-seam panel, to give a drained, ventilated rainscreen.
• Interior: a continuous Intello air-barrier / vapor-control membrane — the airtight plane the crew seals as the building closes up, taped at every seam and transition with Vana tape. On a flat wall, those two planes are easy. The whole job is the handoff — every window and door, the floor lines, the slab edge, and every penetration.
What "done right" looks like at the transition.
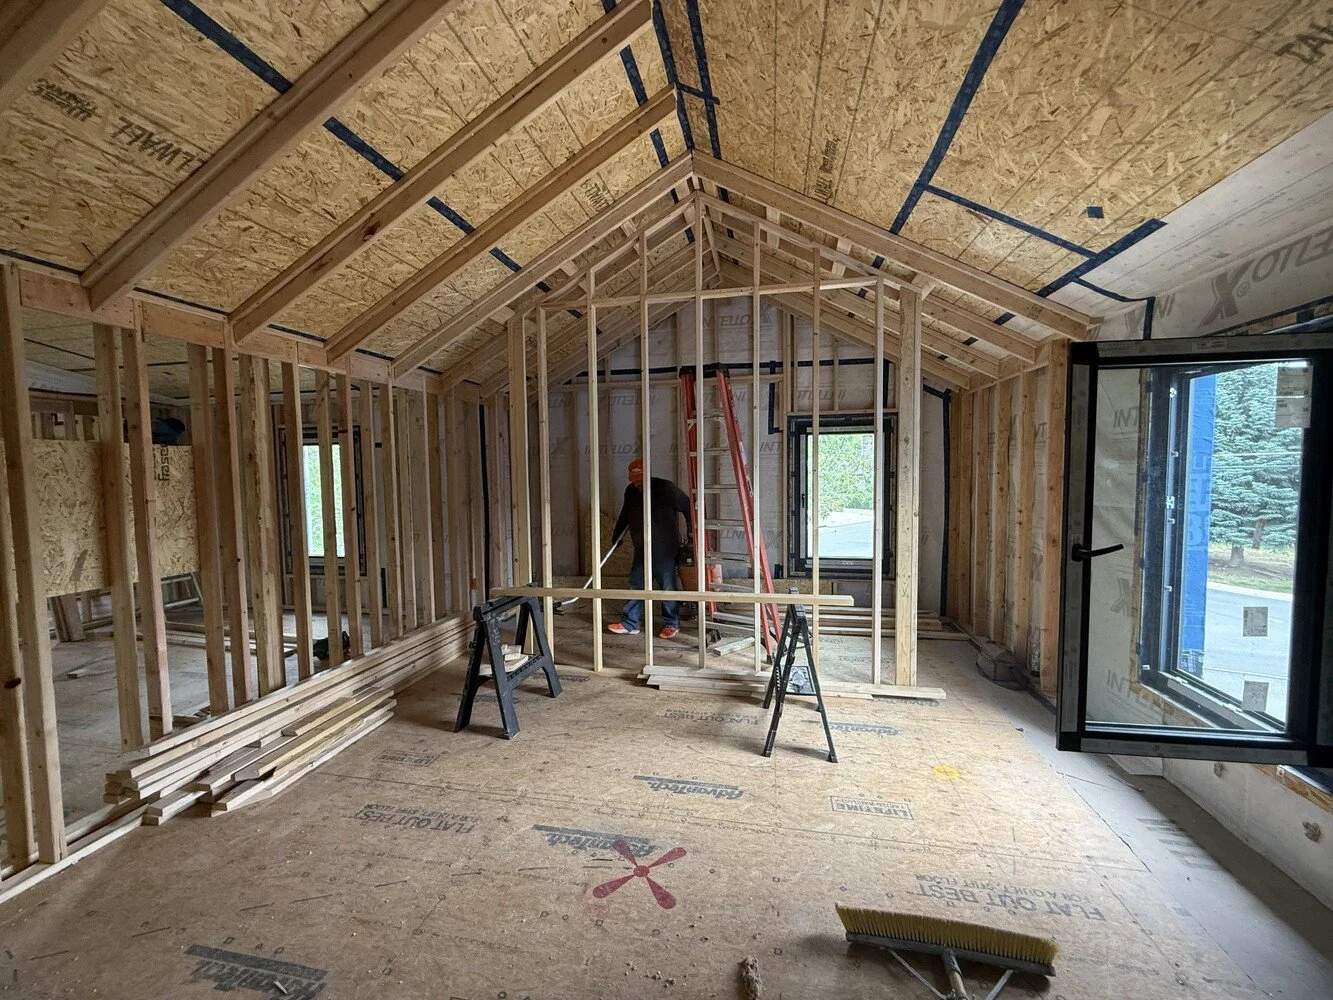
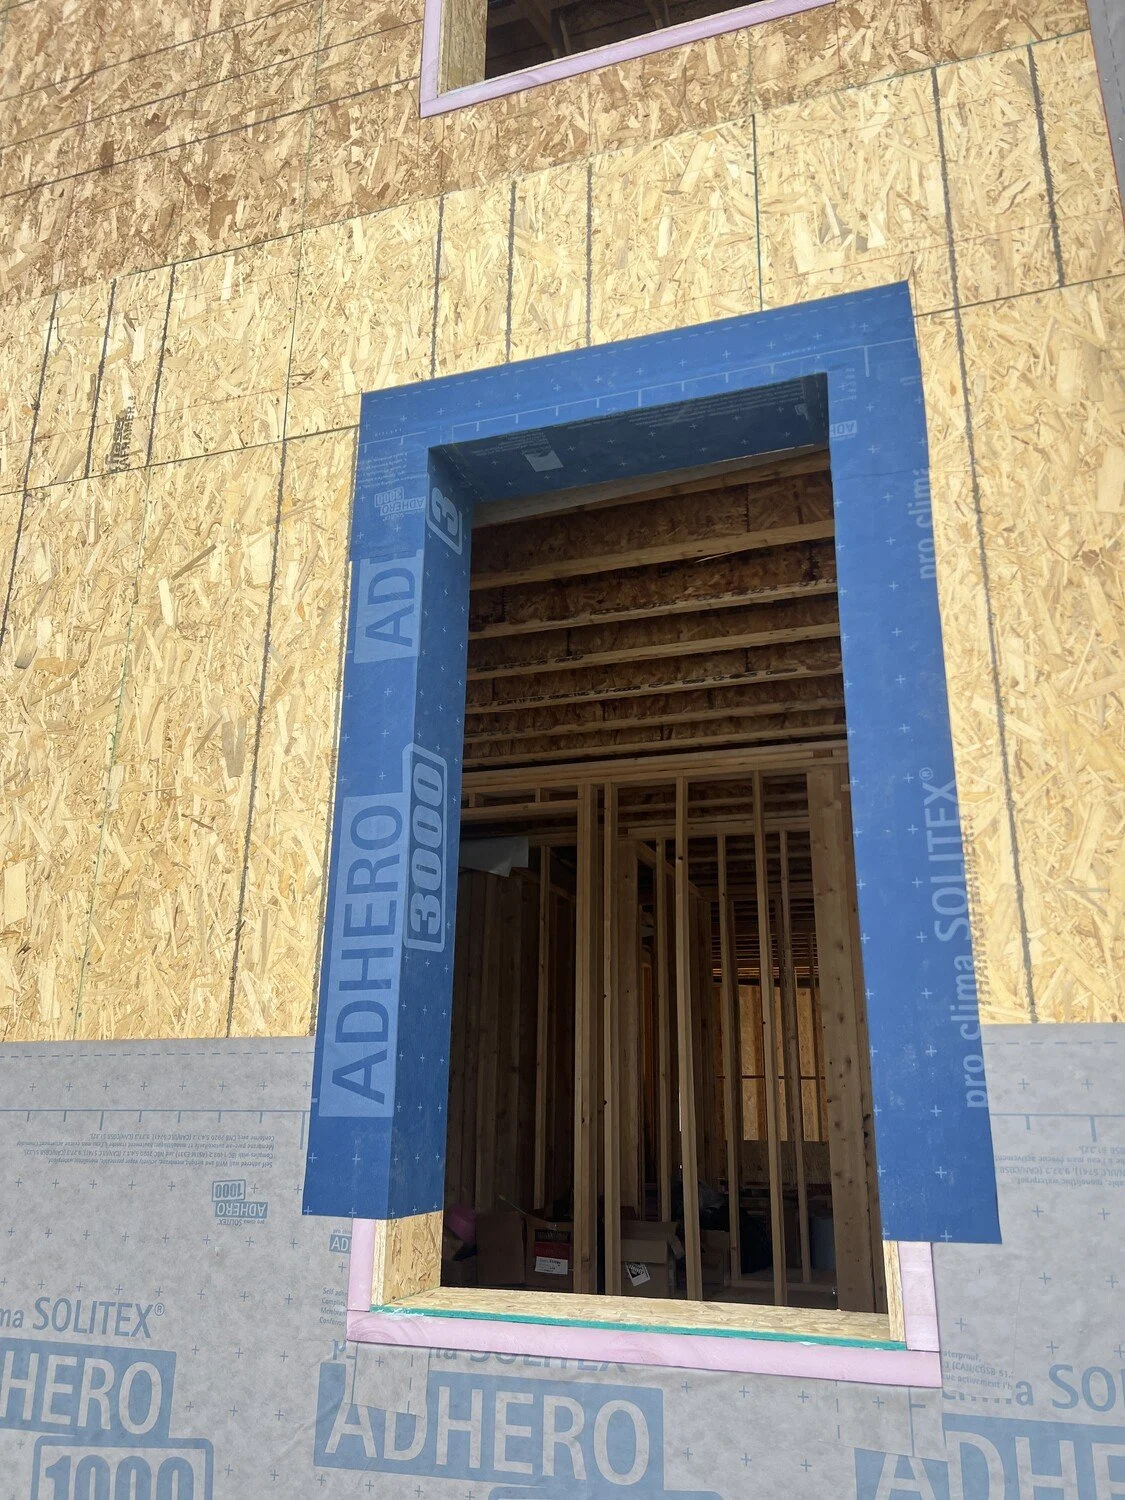
• At the windows and doors. Pivot Vue 7 windows and Pivot Alu 7 doors sit on an OSB buck detailed to span both the 2×6 and 2×4 stud layers, so the frame lands in the air-control layer instead of being screwed to a bare rough opening. Intello wraps into the jamb and laps onto the exterior Adhero membrane, sealed with Vana tape, so water sheds out and air can't sneak around the frame. The same detail breaks the thermal bridge at the buck — the connection that quietly costs comfort and invites condensation when it's skipped.
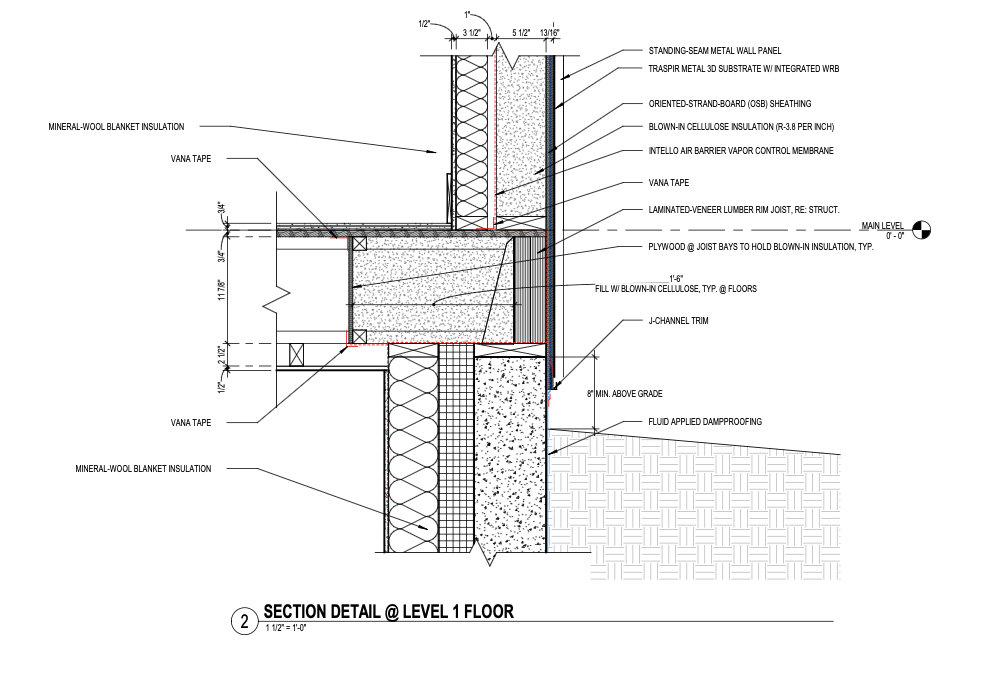
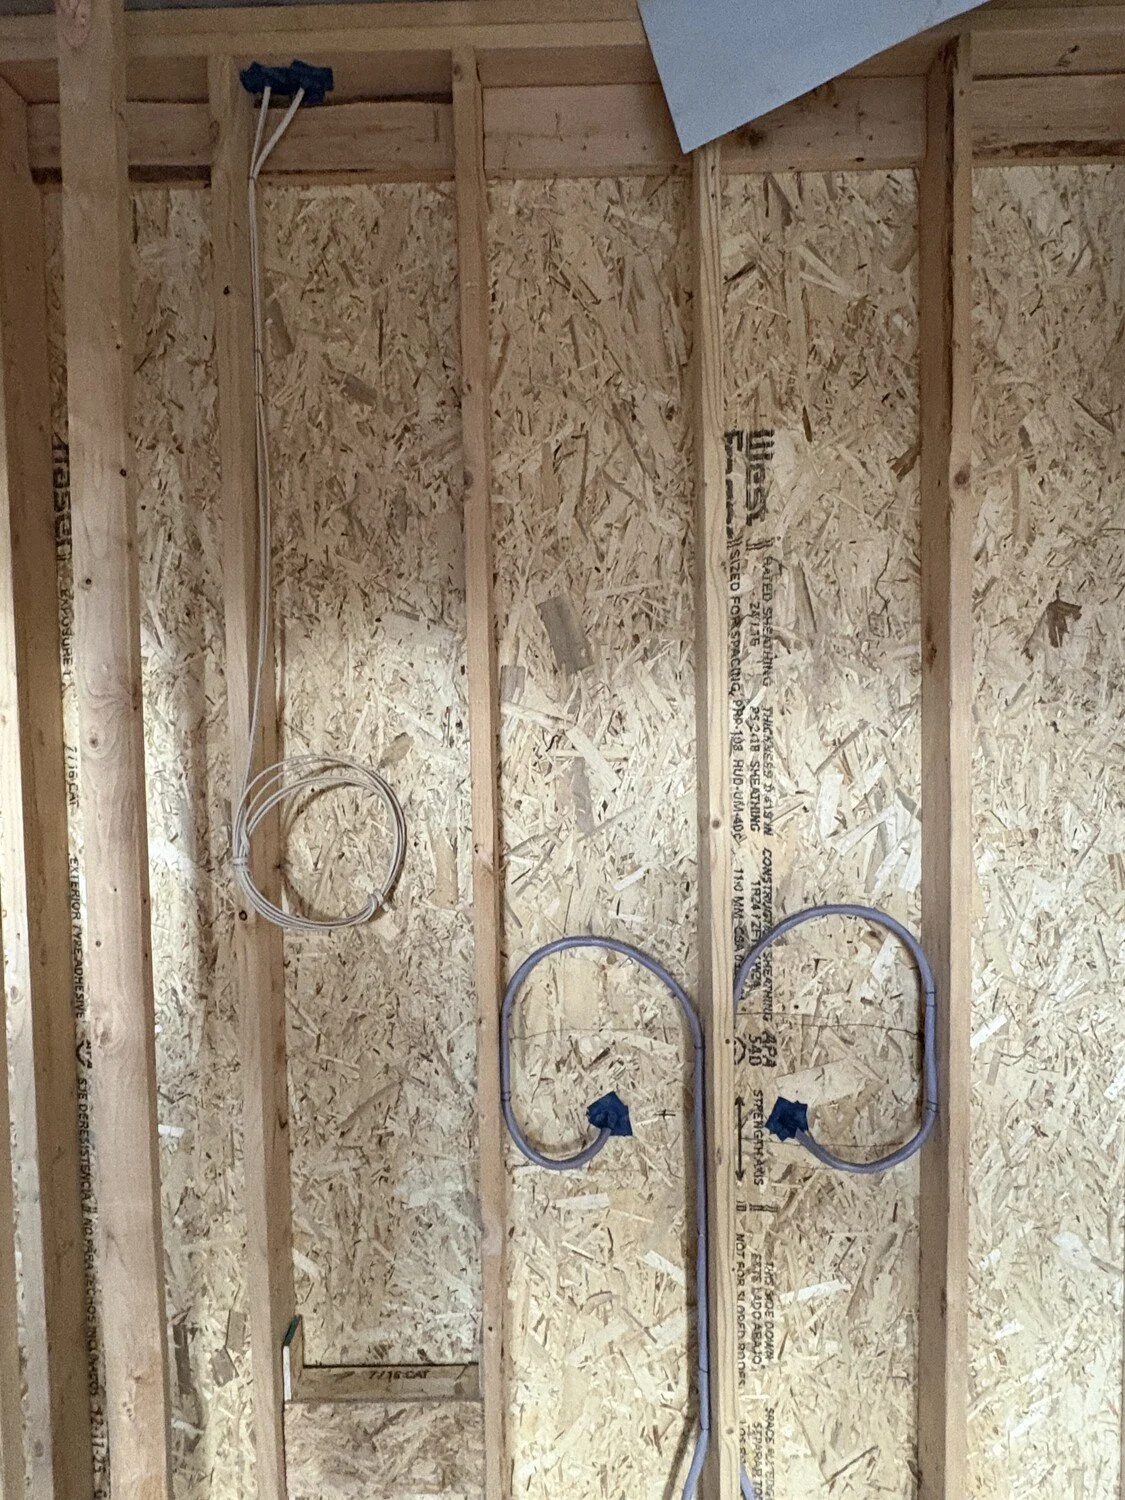
• At the basement-to-first-floor line. This is the transition most crews get wrong. Our Level 1 Floor detail carries the interior Intello membrane continuously past the LVL rim joist — taped above and below — so the air barrier doesn't dead-end at the floor. The drawn detail and the field photo are the same handoff: membrane run tight across the rim, blown-in cellulose behind it.
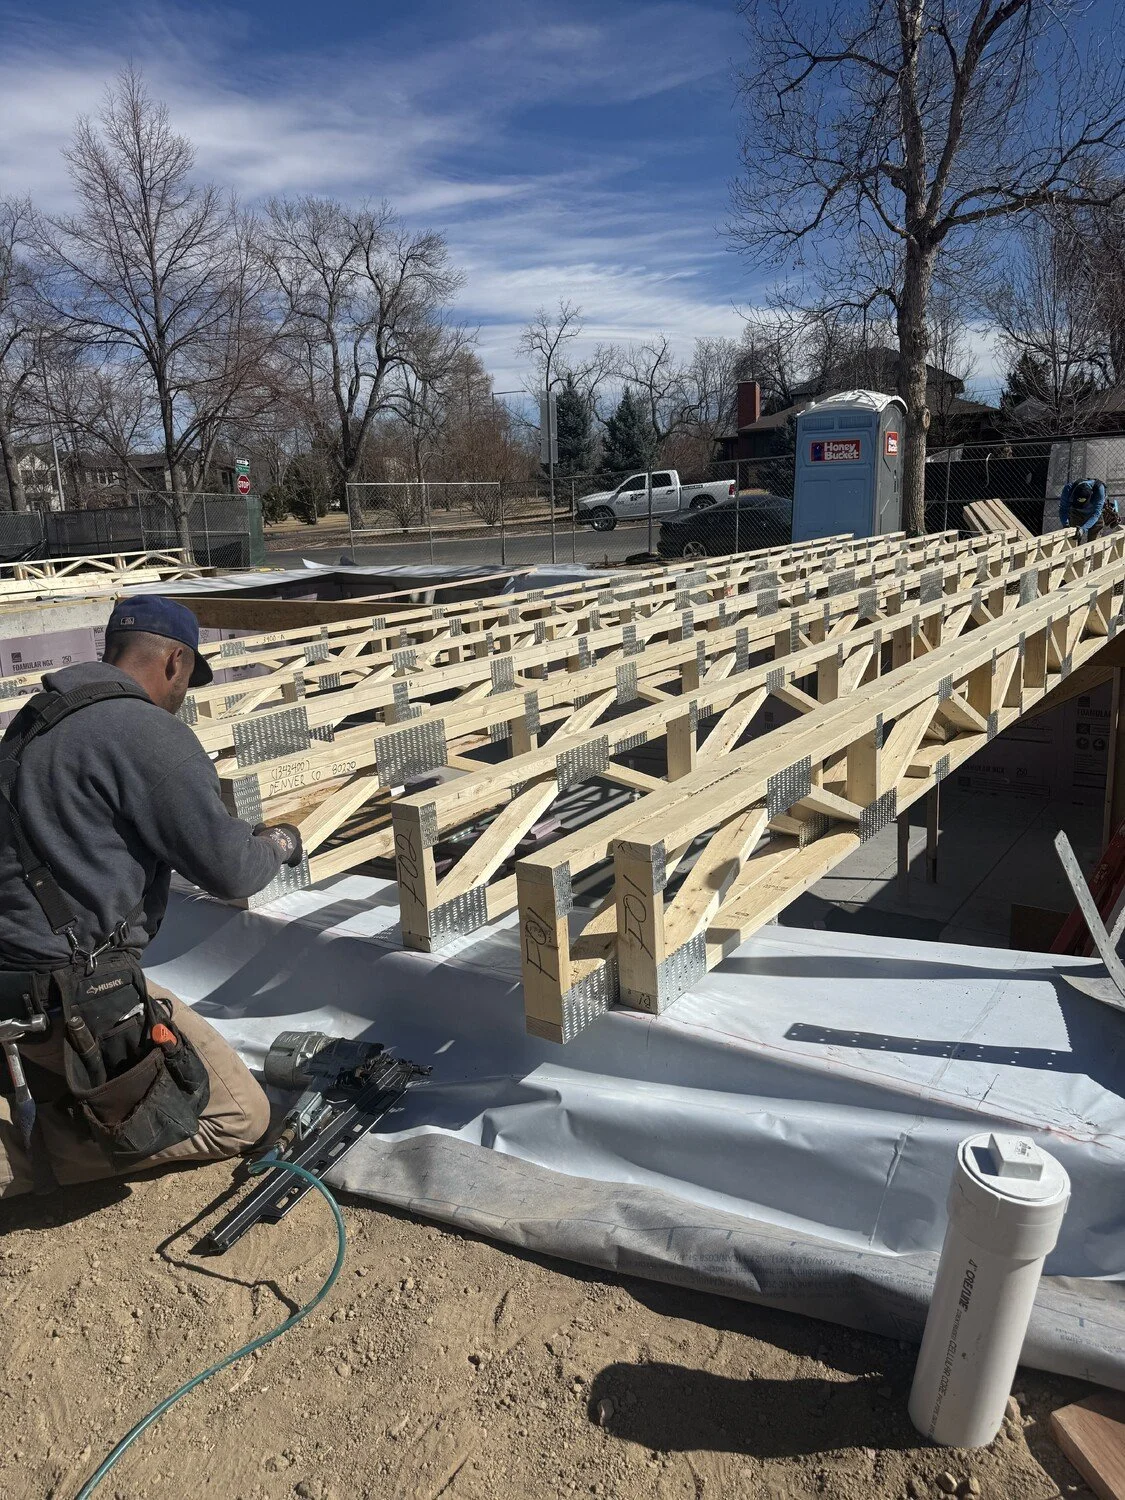
• At penetrations. Every pipe, duct, and wire through the air barrier is a potential leak. Each one is sealed back to the Intello plane so the penetration doesn't become the weak point that shows up on test day.
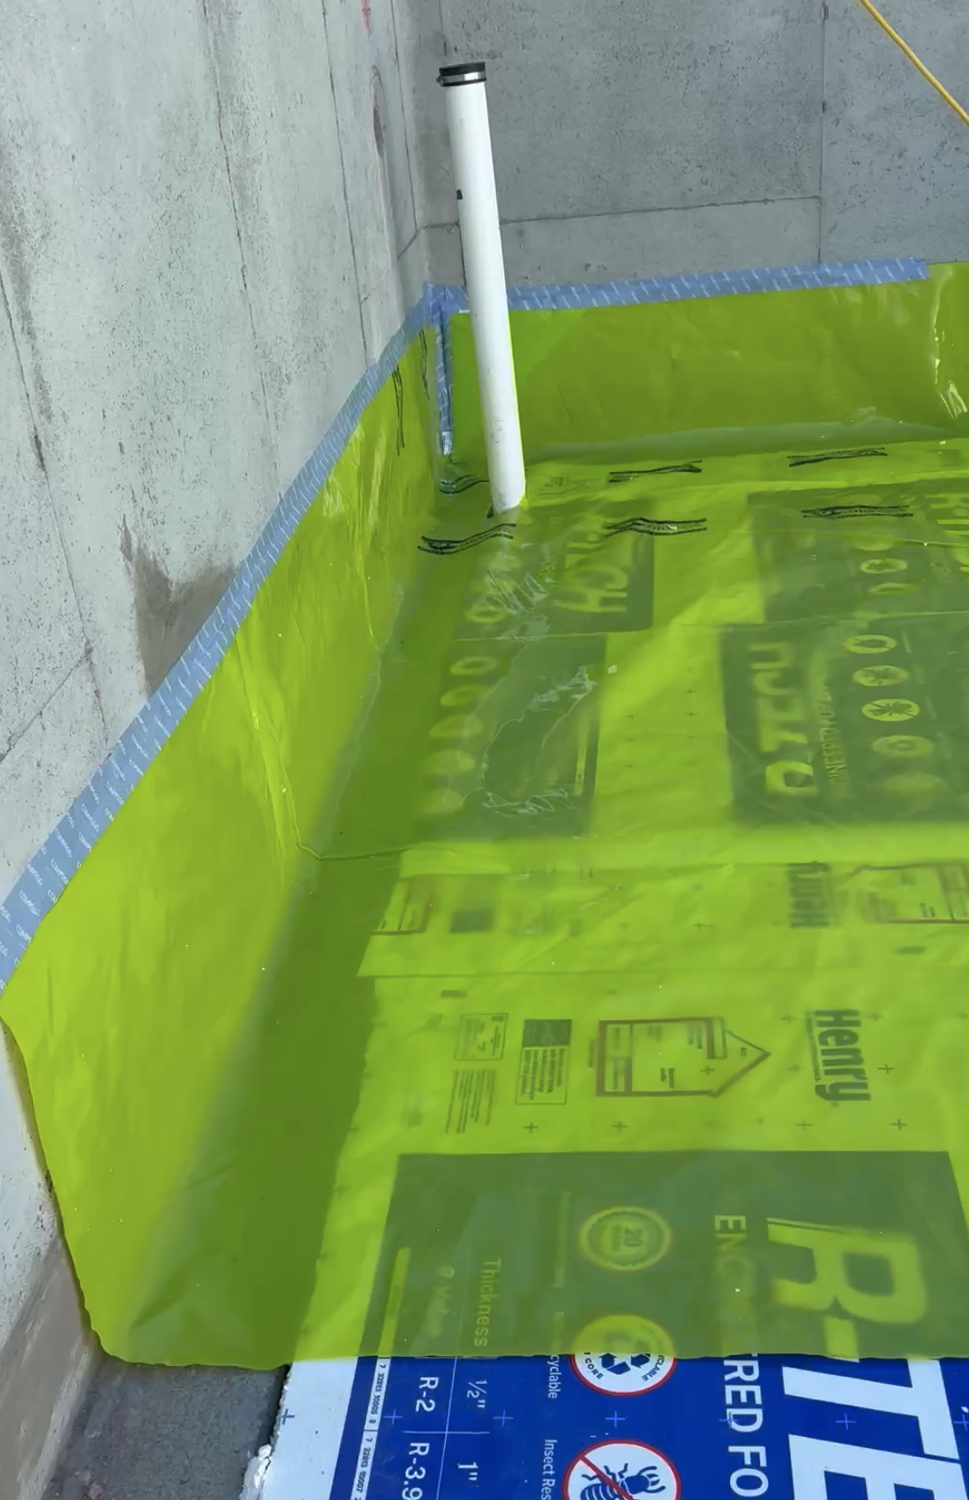
• At the slab. The floor lands at R-40 over 10" of EPS with a Stego Wrap vapor barrier under the slab, and the wall air barrier ties down to it — closing the loop at the bottom of the enclosure.
Why it's the whole job.
A double-stud wall and a good WRB don't make a building airtight on their own. The continuity across every transition does — and that continuity is a design-and-field problem, not one or the other. Draw a perfect detail no one can build, and it leaks. Send a great crew a vague section, and it leaks. At PHI Low Energy the blower door is the exam, and the only way to pass it — let alone come in at 0.38 against a 1.0 target — is for the drawn detail and the built detail to match. That's the Point 6 job on 6th Ave: develop the transitions a code-built set never had to address, then stay on them in the field — with the builder and 475, at the floor line, at every penetration — so the number isn't a hope. 0.38 ACH50 is a result you can point to.
Building high-performance in Colorado? Look at your details at the window, the floor line, the slab, and every penetration before you look at the wall — and make sure the crew building them was in the conversation when they were drawn. That's where your airtightness number actually comes from.